
A bent blade, a submerged log, a moment of bad luck — and your Suzuki outboard is sitting on the transom with a prop that needs to come off. The good news? Replacing or installing a Suzuki propeller is a job you can handle yourself. No marina appointment needed.
But there’s a real difference between getting it on and getting it on right. The order matters. The torque matters. Every thrust washer and tab washer has a specific place. Skip those details and you’re looking at a prop that wobbles, slips, or walks right off the spline shaft mid-throttle.
This guide walks through every step of the process, so you leave the dock confident — not guessing.
Content Framework: How To Install A Propeller On A Suzuki Outboard
Here’s what this guide covers, start to finish:
-
Tools and safety prep — what you need before anything comes off
-
Single propeller removal and installation — covers the full sequence for Suzuki DF series engines. You’ll go through shaft lubrication, stopper placement, spacer and washer order, nut torque (50–60 N·m), and cotter pin locking
-
Dual propeller installation — front prop goes on first. The front nut uses a left-handed thread. You’ll engage the tab washer, then fit the rear prop and finish with the cotter pin
-
Torque specs and hardware details — exact figures for nut torque, stainless steel cotter pin requirements, and thrust washer orientation
-
Propeller sizing basics — how to read specs like 3-14×19 and match pitch to your load
-
Common mistakes to avoid — the errors that cause wobble, slippage, or prop loss
Each section builds on the last. Follow it in order.
Safety Precautions Before You Start
A spinning propeller blade can cause serious injury faster than you can react. The engine must be dead before you touch anything — not idling, not in neutral with the key still in. Dead.
Kill the engine the right way:
– Shift to neutral, then shut it down
– Disconnect the spark plug wires or ignition coil leads
– Remove the kill switch lanyard
– Disconnect the battery and wait at least 5 minutes before touching anything near the shaft
Gear up before you start:
– Non-slip shoes (SRA-rated)
– Cut-resistant gloves (ANSI A4 or higher)
– Eye protection
Know your limits — and call a mechanic: Prop shaft radial play over 0.5mm? Spline wear deeper than 20%? That’s a certified mechanic job. Don’t treat it as a driveway fix.
One more thing: lift with your legs and keep your back straight. Don’t solo-carry anything over 50 lbs. Most prop installations go wrong because people rush the setup — not the installation itself.
Tools & Materials You’ll Need
Gather everything before you touch the prop. Searching for a socket mid-job is how mistakes happen.
Tools:
– Propeller wrench or socket set (22mm–27mm, depending on your DF model)
– Torque wrench — you need this to hit the 50–60 N·m spec on the prop nut. No shortcuts here.
– Needle-nose pliers — for removing and seating the cotter pin
– Rubber mallet — breaks the prop loose without damaging the hub
– Wooden block or prop holder — stops the shaft from spinning while you torque the nut
Materials:
– Replacement cotter pin — stainless steel, marine-grade. Skip the hardware store brass.
– Marine grease — waterproof and corrosion-resistant. Put it on the spline shaft before you install the prop.
– Hub kit — grab one if your current hub is damaged or spinning free inside the prop
Check before you start:
– New tab washer if the existing one is bent or worn out
– Thrust washer in good condition — look for scoring or deformation
– Correct replacement propeller matched to your Suzuki DF series engine
One note on the hub kit: reusing an old prop? Pull the rubber hub insert and check it. A spun hub looks just like an engine problem. Mechanics get it wrong all the time. Replace it now while everything is already apart.
How to Remove the Old Propeller on a Suzuki Outboard

Most people make their first mistake right at the removal sequence — they skip the hardware diagram and go straight to muscle.
Work in order. Every part comes off in a specific sequence. On dual-prop models like the Suzuki DF350A, that sequence differs for the rear and front propeller. Mix them up and you get bent locking tabs, damaged splines, and a reinstall that starts wrong from the beginning.
Rear Propeller Removal
Start here, at the back:
-
Confirm the engine is in neutral
-
Straighten the cotter pin ends with needle-nose pliers — pull it out and discard it. Never reuse a cotter pin
-
Remove the rear propeller nut, then the washer, then the spacer
-
Slide the rear propeller straight off the shaft
-
Remove the rear propeller stopper
The prop won’t budge? Galvanic corrosion is the main culprit — an aluminum prop bonded against a stainless shaft. Put penetrating oil at the hub-to-shaft gap and wait 10 to 60 minutes. Next, wedge a wooden block between the blade and the anti-ventilation plate. Rock the prop side-to-side. Tap the hub (never the blades) with a rubber mallet. For stubborn cases, a gear puller gets the job done.
Front Propeller Removal
The front prop has one critical difference: left-hand thread. You loosen it by turning clockwise — the opposite of every other fastener you’ve ever touched.
-
Straighten the locking edges on the front propeller nut stopper with pliers
-
Remove the front propeller nut using a Suzuki genuine propeller nut remover & installer — this is not optional. A standard socket will slip and damage the nut
-
Remove the front propeller nut spacer
-
Slide off the front propeller
-
Remove the front propeller stopper
Once everything is off, inspect the spline shaft with care. Look for corrosion pitting, worn teeth, or fishing line wrapped around the base. Damage here affects every prop you put on after this — catch it now while the shaft is bare.
Step-by-Step: Installing the Front Propeller on Suzuki Outboard
The front prop goes on before the rear — and the process works completely different. Left-hand thread. Higher torque. Tab washer instead of a cotter pin. Know these three things before you touch a single part.
Here’s the full sequence:
1. Grease the spline shaft
Coat the full length of the splines with Suzuki water-resistant grease. Use a thick coat, not a thin film. That grease is your main barrier against galvanic corrosion between the shaft and hub. Don’t skip it. Don’t go light on it.
2. Slide on the front propeller stopper
This small piece goes on first. It seats at the base of the shaft. Everything else builds on top of it.
3. Mount the front propeller
Line up the prop with the splines. Slide it straight onto the shaft — no forcing, no tilting. It resists? Stop. Check your spline alignment first. Then try again with steady, even pressure.
4. Install the front propeller nut spacer
Slide it on after the prop. It sits between the propeller and the nut stopper. Its position sets up the next step, so make sure it’s seated flat.
5. Set the front propeller nut stopper
This step needs exact placement. Align section A of the stopper with the punch mark C on the spacer. The rounded tab should lock into the spacer’s marked groove with a clean, solid fit. Not flush? Back it off and realign. Don’t move forward until it seats right.
6. Install and torque the front propeller nut
This nut uses a left-hand thread — turn it counterclockwise to tighten. Use the Suzuki genuine propeller nut remover/installer tool. A standard socket will slip off and strip the nut.
Torque spec for DF300/DF350A: 125–135 N·m (90.4–97.6 lb-ft). Wedge a wood block between the blade and anti-ventilation plate to hold the shaft steady while you apply torque.
7. Bend the locking tabs
Press at least two tabs of the nut stopper flat against the nut flats. Use firm, deliberate pressure. One hard rule: never bend sections A or B. Those sections crack under stress and will fail.
8. Verify rotation
Put the engine in neutral. Spin the prop by hand. It should turn with no drag, no catching, no resistance. No cotter pin needed — the tab washer holds everything in place.
Step-by-Step: Installing the Rear Propeller on Suzuki Outboard
The rear prop installation is where precision pays off — five parts, one sequence, zero room for improvisation.
The front propeller is locked and verified. The shaft is ready. Work through this in exact order. Skip a step or reverse the sequence, and you’ll end up with a prop nut that won’t seat or a cotter pin that won’t align.
1. Grease the spline shaft (again)
No extra grease after fitting the front prop assembly? Add it now. The rear splines need a full, generous coat of Suzuki water-resistant marine grease — not a light pass, not a trace. This is your corrosion barrier between the outboard propeller spline shaft and the hub. Pack it on like you mean it.
2. Seat the rear propeller stopper
Slide the rear propeller stopper onto the shaft. Push it forward until it sits flush against the front prop assembly. It needs to be all the way on — not halfway, not close. This piece is the foundation everything else rests on.
3. Mount the rear propeller
Align the Suzuki DF series propeller with the splines. Slide it straight on. You’ll feel it stop hard with no play left. Check spline engagement by hand — the prop shouldn’t rock or shift at all.
4. Install the spacer, then the thrust washer
Slide on the rear propeller nut spacer first. Then add the thrust washer. Order matters here. The washer goes on after the spacer — not before, not skipped.
5. Install and torque the rear propeller nut
Thread the rear propeller nut on by hand first. Then wedge a wooden block — a standard 2×4 works — snug between two opposite blades, centered at the hub. This locks rotation and spreads torque load without putting stress on the blades.
Torque to 50–60 N·m (36.0–43.5 lb-ft). Use your torque wrench. Guessing this number is how props walk off the shaft.
6. Lock it with the cotter pin
Rotate the nut until its grooves line up with the hole in the shaft. Insert a stainless steel cotter pin through the shaft and nut. Bend both ends — split them 90° apart, crimped flat against the nut. Both ends should be fixed and solid. No movement at all.
That’s the lock. The propeller cotter pin is the last line of defense between your prop and open water. Treat it like it matters.
Quick Reference: Rear Prop Hardware Sequence
|
Order |
Part |
|---|---|
|
1 |
Rear propeller stopper |
|
2 |
Rear propeller |
|
3 |
Rear propeller nut spacer |
|
4 |
Thrust washer |
|
5 |
Rear propeller nut — torque to 50–60 N·m |
|
6 |
Cotter pin — bend both ends |
Spin the prop by hand once everything is locked. You want smooth rotation, no wobble, no catching. It resists or feels uneven? Back up and check your hardware sequence before you go anywhere near the water.
Torque Specifications & Key Specs for Suzuki Outboard Propeller Installation
Wrong torque is the silent failure mode nobody talks about — until the prop ends up on the lake floor. Here are the exact numbers, by model. No guessing.
Propeller Nut Torque by Model
|
Model |
Nut |
Torque |
|---|---|---|
|
DF200 / DF225 / DF250 |
Single prop nut |
50–60 N·m (37–44 lb-ft) |
|
DF350A |
Front nut (left-hand thread) |
125–135 N·m (90–98 lb-ft) |
|
DF350A |
Rear nut |
50–60 N·m (36–44 lb-ft) |
|
DF150AP / DF200AP |
Prop nut |
~75 N·m (55 lb-ft) |
|
DF40–DF150 |
Prop nut |
40–55 lb-ft — verify via your owner’s manual |
One real-world note: 200 HP owners start at 40 lb-ft, then adjust ±15 lb-ft to line up the cotter pin hole. That works fine. What doesn’t work is skipping the torque wrench altogether.
Full-Throttle RPM Benchmarks
Match your prop pitch to keep your engine in its power band:
-
DF200 / DF225: 5,000–6,000 RPM
-
DF250: 5,500–6,100 RPM
-
DF350A: 5,700–6,300 RPM
RPM sitting below range? Drop the pitch. Above range? Go up. Your engine gives you all the data — just watch the tach and act on it.
Common Mistakes to Avoid When Installing a Suzuki Outboard Propeller
Most prop installations don’t fail during the job. They fail three miles offshore because someone skipped a 30-second step.
Here are the errors that cause real problems, ranked by how often they happen:
Forgetting the thrust washer. This is the most common one. The washer sticks to the old prop as you pull it off. You won’t notice it’s gone until the new prop is torqued down. Run the engine without it, and you push thrust load straight into the lower unit housing. That’s a costly repair. The correct part for most 4-cylinder 4-stroke Suzuki models is 09265-65001 — know it, keep a spare.
Skipping the grease on the spline shaft. Saltwater gets in. Corrosion follows. Six months later, the prop is seized to the shaft. That’s how a 20-minute job turns into a marina bill.
Reusing the cotter pin. Metal fatigue is invisible. A used pin looks fine right up until it fails. Always fit a new stainless steel cotter pin — every single time, no exceptions.
Under-torquing or over-torquing the nut. Under-torque, and the nut walks loose. Over-torque, and you strip the threads. Neither problem is fixable at the ramp. Use a torque wrench. That’s the whole fix.
Not bending the cotter pin or locking tabs all the way. Threading the pin and calling it done isn’t done. Bend both ends. Spread them. Seat them flat against the nut. A pin that isn’t crimped tight is a prop waiting to slide off the shaft.
Skipping the post-installation spin test. Rotate the prop a full turn by hand before you launch. It should spin clean — zero drag, zero noise. A scraping feel points to misalignment. A clunk in reverse means the hub is already damaged. Sort it at the dock, not out on the water.
Post-Installation Checks & First Run Tips
Everything’s torqued. The cotter pin is bent and seated. Take two minutes before you hit the water — this step is where installations hold up or break down.
At the dock, before launch:
– Spin the prop through one full rotation by hand. It should turn clean and quiet. Scraping, grinding, or any resistance means something is off. Stop right there and find the problem.
– Check the cotter pin ends. Both ends should be crimped and spread flat — look at them directly, not a quick glance. Tug the prop forward and backward along the shaft. Zero movement is what you want. Anything else means go back and check.
– Look for grease squeeze-out around the hub. A small amount is normal. No squeeze-out at all? You likely went too light on the splines.
First run — keep it short and deliberate:
– Start at idle. Listen for unusual vibration or a rhythmic thump.
– Build up to mid-throttle in small steps. Watch for prop cavitation or exhaust that sounds uneven.
– Check your RPM against the benchmark for your model. Out of range? Your pitch needs attention.
Pull back into the dock after the first run. Do one final visual check. Locking tabs still tight. Cotter pin still seated. No surprises. That’s a clean, solid installation.
How to Choose the Right Replacement Propeller for Your Suzuki Outboard
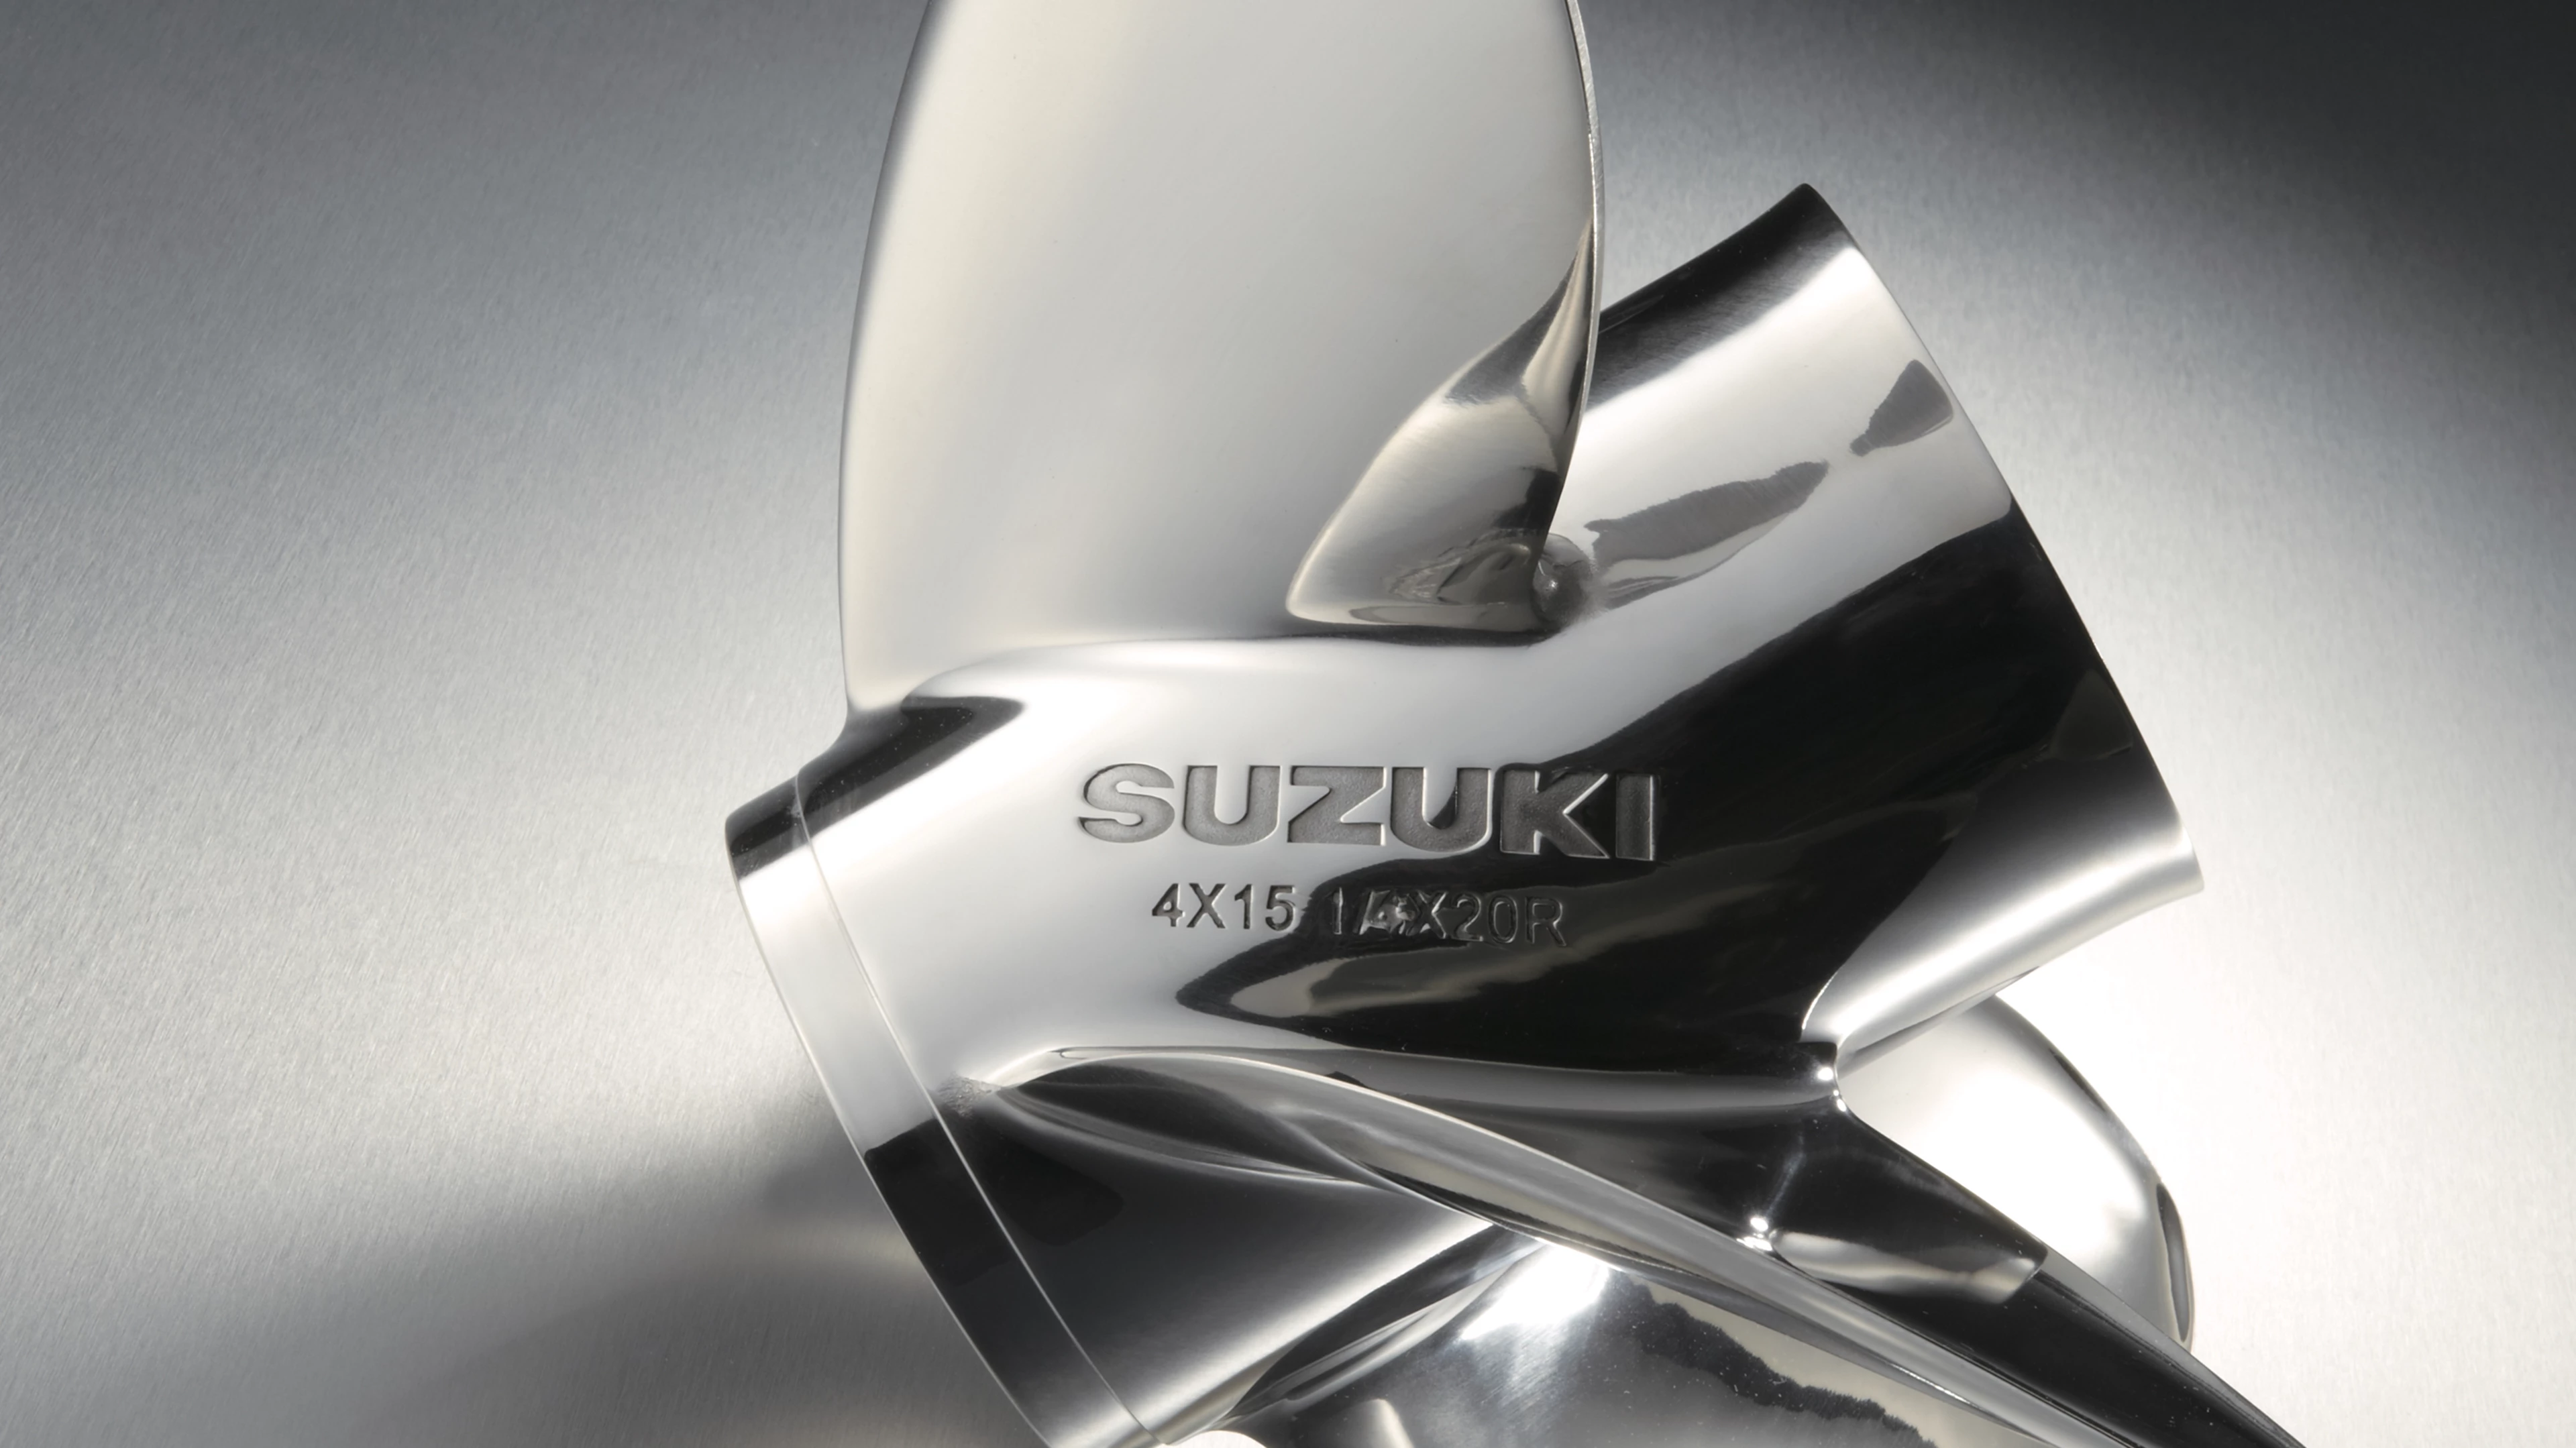
The wrong prop doesn’t announce itself at the dock. You see it at wide-open throttle — RPMs stuck below 5,000, boat dragging under load, fuel burn going up for no clear reason. The right replacement starts with three numbers: diameter, pitch, and blade count.
Match Pitch to Your RPM Target
Suzuki’s WOT target for most DF series engines sits between 5,000–6,000 RPM. Pitch is your primary adjustment lever.
The rule is simple: every 1 inch of pitch change moves RPM by about 200 in the opposite direction. Too high? Drop an inch of pitch. Too low? Go up.
-
Low pitch (9–12″) — better hole-shot, stronger acceleration, built for heavier boats and loaded hulls
-
High pitch (19–23″) — higher top speed, lower RPM cruise, suits lighter and faster setups
-
Optimal cruise lands around 70–75% of max RPM — about 3,500–4,500 RPM if your WOT ceiling is 5,000–6,000
Aluminum or Stainless Steel?
Both work. The choice depends on how you use the boat and how much you want to spend.
|
Material |
Price Range |
Best For |
|---|---|---|
|
Aluminum |
~$100–200 |
General cruising, budget builds, calmer water |
|
Stainless Steel |
~$300–600 |
Performance, rough water, long-term durability |
Stainless holds its shape better under load and lasts longer. Aluminum, on the other hand, takes impact better without cracking — a real advantage if you run in areas with debris in the water.
Match Your Engine Model to the Right Specs
Spline count is non-negotiable. The wrong count means the prop won’t fit. Full stop.
-
DF15 (10-tooth spline): 11×9 RH AL 3-blade for larger hulls; 10⅛×15 RH AL 3-blade for smaller, faster setups
-
DF70–140 (15-tooth spline): 12½×23 RH AL reaches 44–50 MPH on hulls under 16ft
-
DF150–300 (15-tooth spline): 15½×17 RH SS 3-blade Thunderbolt fits 21–25ft hulls; step up to 14¾×21 RH SS for speeds in the 47–56 MPH range
3-Blade vs. 4-Blade
Three blades favor top speed and efficiency. That’s the right call for most cruising setups. Four blades give you better acceleration and stronger thrust out of the hole. That matters for watersports or boats running heavy loads. The tradeoff is about 1–2 MPH off your top-end ceiling.
One final check before you buy: confirm hub kit compatibility. For DF15–300, the Flo-Torq II hub kit (835282Q1) is a solid cross-reference. A mismatched hub lets the prop spin free inside itself. It feels like an engine failure. You won’t know the difference until you pull the prop and take a look.
FAQ: Suzuki Outboard Propeller Installation
These are the questions that come up every time — the details people search for at 11pm the night before a launch.
Can I install a Suzuki propeller myself?
Yes. You need a torque wrench, a wood block, marine grease, and about an hour. Most people pay $50–150 in labor for something you can handle in the driveway.
What torque do I use on the prop nut?
Single-prop models: 50–60 N·m (36–43.5 lb-ft). The DF350A front nut runs higher — 125–135 N·m — because it uses a left-hand thread and carries more load. Always check your owner’s manual to confirm.
Which direction does the front prop nut tighten?
Counterclockwise. The front nut on dual-prop models has a left-hand thread. It tightens the opposite direction from everything else you’ve turned. Go the wrong way and you’re loosening it.
Why does my prop wobble after installation?
Nine times out of ten, it’s a missing thrust washer, wrong hardware sequence, or a nut that wasn’t torqued to spec. Go through the sequence step by step — stopper, prop, spacer, washer, nut — and confirm each one before moving on.
Do I need a new cotter pin every time?
Every single time. Used pins carry hidden fatigue you can’t see. Use stainless steel, marine-grade pins, bent flat on both ends. No exceptions.
What’s a prop hub kit and when do I need one?
The rubber hub insert sits between the prop and the shaft. It absorbs impact. Your engine bogs but the prop still spins under load? The hub has spun. Replace it. The Flo-Torq II kit (835282Q1) fits most Suzuki DF models. Get it as a separate purchase from the prop.
Conclusion
You’ve now got everything you need to do this job right — and do it yourself.
Installing a Suzuki outboard motor propeller isn’t complicated. Learn the component order. Respect the torque specs. Take five minutes to double-check your work before you head out. Most boat owners who’ve done it once never pay a shop labor fee for it again.
The real takeaway isn’t just the steps — it’s the confidence that comes with knowing your rig inside and out. A well-seated propeller makes a difference. Get the thrust washer right. Set the cotter pin in place. Torque it to spec. That’s not just good maintenance — that’s peace of mind at 30 knots.
Ready to put this into practice? Browse our full range of Suzuki DF series propellers at vifpropellers.com. Every prop is built to spec and ready to install. Our team knows the difference between a hub kit and a hardware store bolt — and that difference matters.
Go make some wake.