
Just last season, we witnessed a classic marine headache: an outboard engine had been sitting idle for over six months. Come spring, it stubbornly refused to hold a steady idle, just coughing and sputtering at the dock. Instead of immediately unbolting the carburetor and clearing his afternoon, the owner tried a heavy dose of marine fuel additive. After running just one full tank of treated gas, the engine surprisingly recovered about 95% of its original performance. He got his weekend back and completely skipped the headache of a messy teardown. Pretty great, right?
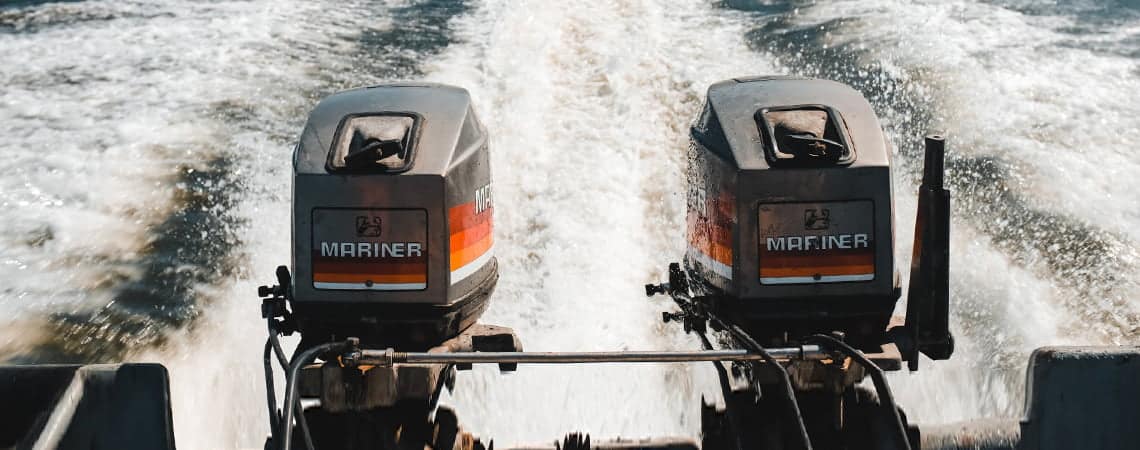
But let’s be completely transparent here. While a “no-removal” cleaning trick is fantastic for clearing out soft winter varnish, it certainly isn’t a miracle cure. If your carburetor jets are solidly calcified, or the internal passages are packed with hardened marine debris, a quick chemical flush simply won’t cut it. In those severe cases, there is no shortcut—you absolutely must pull the unit off the engine for a full disassembly and ideally run the parts through an ultrasonic cleaner.
We don’t believe in overpromising or selling you “snake oil” fixes. As professional marine parts manufacturers, the team at VIF has analyzed thousands of fuel systems. We know exactly what works on the water and what fails under load. If your engine is just suffering from minor buildup, we are here to give you the most reliable, no-nonsense steps to clean it yourself—without taking the carb off.
What You Need Before Starting
-
A quality carb spray: CRC Carb & Choke Cleaner or WD-40 Specialist work great for light grime.
-
A soak cleaner: Sea Foam Marine PRO is ideal for stubborn varnish.
-
Basic gear: Spray extension straw, small nylon brush, safety glasses, and nitrile gloves.
-
Safety absolute: Keep a fire extinguisher nearby and work in a well-ventilated space.
Step 1: Prep and Clean the Exterior
First things first—disconnect the negative battery cable and shut off your fuel valve. Carb cleaner is highly flammable, so let the engine cool down completely before you start spraying.
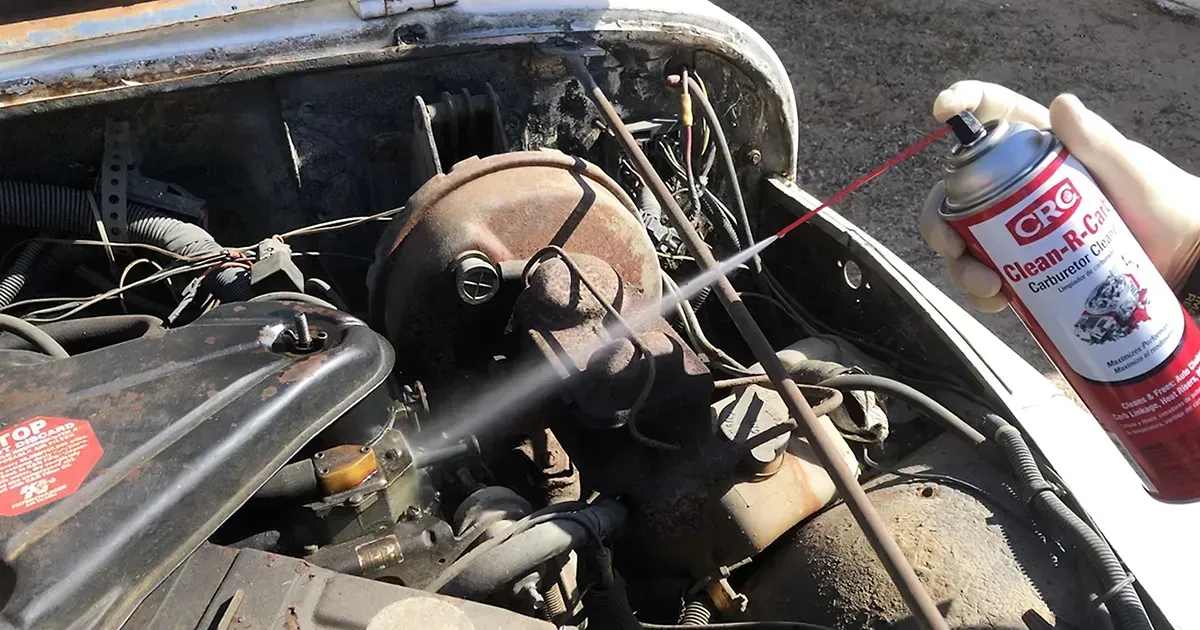
Don’t just start blasting the inside of the carb. Every speck of dirt on the outside is a threat. Use a dry brush to scrub the throttle housing and linkage. Once the loose dirt is gone, momentarily plug the intake throat with a paper towel. Now, spray the exterior linkages and springs with short bursts of cleaner, wiping away the dissolved black sludge. Once clean, pull the plug out of the intake.
Step 2: Flush the Float Bowl
Old fuel loves to settle in the float bowl and turn into sticky varnish. Locate the small drain screw at the very bottom of the bowl. Place a rag or catch-cup underneath, and back the screw out just a turn or two (don’t remove it completely!). Let the old, nasty fuel drain out.
Next, mix a 50/50 solution of fresh gasoline and Sea Foam Marine PRO. Connect this to your fuel line and squeeze the primer bulb until the bowl fills up. Let it soak for about 20 to 30 minutes. This breaks down that golden varnish coating the internal jets. After the soak, drain the bowl again. You should see little specks of dirt and softened gum wash out. Tighten the screw back up.
Step 3: The Running Throat Spray (The Core Fix)
This is where the magic happens, but you have to do it right. Hook the engine up to water cooling (using muffs or a test tank) and start it up. Let it run for about 5 minutes until it’s warm. Cold deposits won’t dissolve properly.
Remove the air box cover so you have a direct shot into the carburetor throat. Here is the rhythm you need to follow:
-
Rev the engine slightly to about 1,500–2,000 RPM.
-
Aim your spray straw at the edges of the throttle plate and the tiny idle ports.
-
Spray in very short bursts (0.5 to 1 second).
If you spray too long, the engine will flood and stall. Let it stabilize for a few seconds between bursts. Repeat this 5 to 10 times. The engine’s vacuum will physically pull the solvent through the dirty passages, cleaning them out from the inside.
Step 4: The Hot Burn-Off
The chemicals have loosened everything; now, heat needs to finish the job. Run the engine at a steady 2,000 RPM for about 10 to 15 minutes. Avoid hard redline revving—you just need a sustained, controlled temperature.
You’ll probably see white or grey smoke coming from the exhaust initially. Don’t panic. That’s just the dissolved carbon and solvent burning off. Once the exhaust clears up, drop the throttle back to idle.
Did It Work?
You’ll know immediately. A clean carburetor should settle into a smooth idle within just a few seconds on a restart. Blip the throttle—it should respond instantly without lagging or bogging down. If the engine hits its normal wide-open RPMs smoothly, you just saved yourself a costly trip to the marine shop.
Note: If the engine still runs rough after all this, you likely have a vacuum leak, a failing fuel pump diaphragm, or jets that are so solidly blocked they require a full teardown and rebuild kit.
Frequently Asked Questions About Carburetor Cleaning
How often should I clean my boat carburetor this way?
Honestly? Doing this once a year is usually your best bet. A quick flush right before you winterize your Boat—or right when you pull it out for summer—prevents fuel residue from hardening into stubborn varnish. If you strictly use ethanol-free fuel, you might stretch that timeline a bit, but a yearly 20-minute clean is cheap insurance for your engine.
Will carburetor spray damage my engine’s plastic or rubber parts?
It certainly can if you’re not careful. That’s exactly why we emphasize using short bursts and aiming precisely. Standard carb sprays are aggressive solvents meant to melt carbon. If your carburetor has exposed rubber O-rings or fragile plastic linkages, rely heavily on the marine soak method (Step 2) and use the harsh sprays sparingly around the metal intake throat.
What if I follow these steps and the boat still stalls?
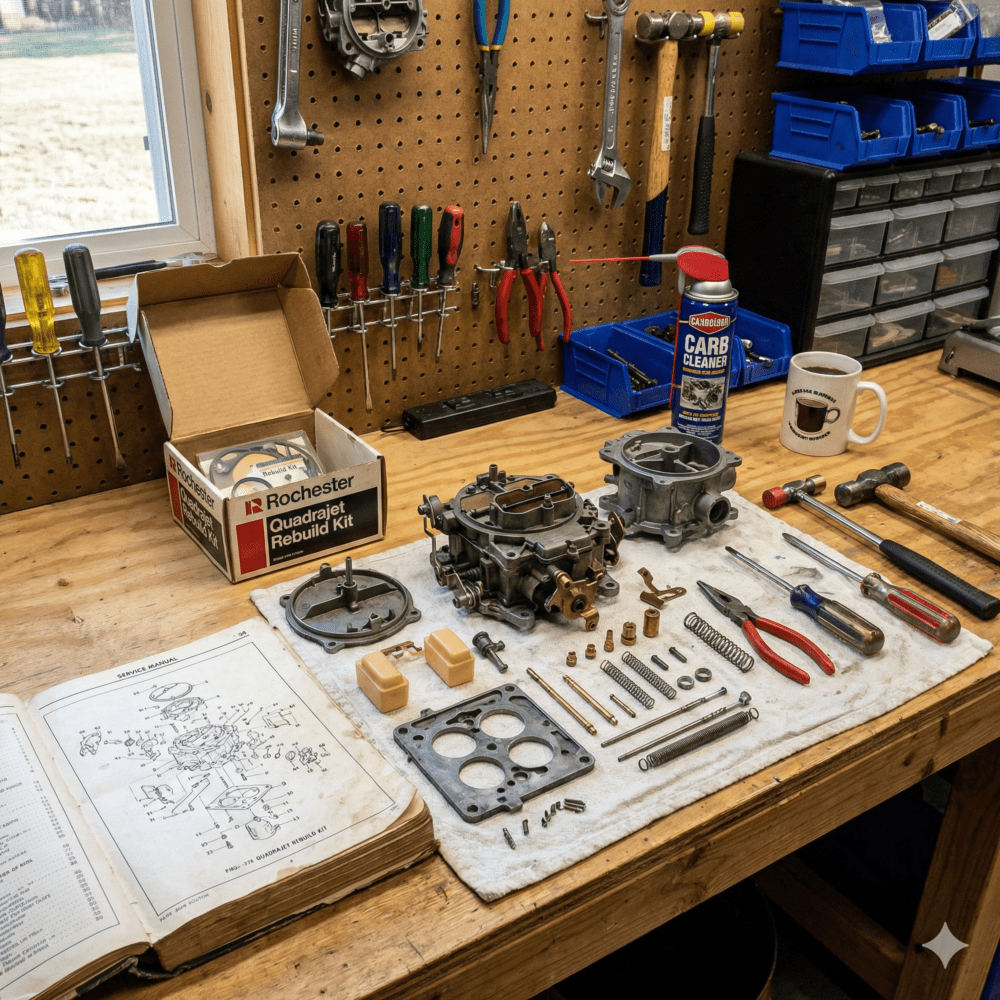
Let’s be real: a spray-down can’t fix a torn fuel pump diaphragm or a main jet that is completely calcified shut. If this quick flush doesn’t cure the hesitation or rough idle, you’re likely looking at a full rebuild. That means pulling the carb off and replacing the gaskets, needle, and seat. It takes a bit more elbow grease, but it’s the definitive fix.
Conclusion: Keep Your Boat on the Water, Not in the Shop
Skipping the mechanic’s waiting list and tackling a quick carburetor flush yourself is incredibly rewarding. Not only do you save a couple of hundred bucks, but you also get a much better feel for how your engine breathes and operates under load.
However, we know that the marine environment is totally unforgiving. Sometimes, a quick surface clean just isn’t enough to counteract years of saltwater or bad fuel. That’s where the expertise at vif makes all the difference. We deal with marine engine performance day in and day out. We know that using reliable replacement parts and the right maintenance approach decides whether you have a great weekend on the water, or a frustrating tow back to the dock.
From precision rebuild kits to professional-grade tools, vif is dedicated to providing the quality and reliability serious boaters demand. Ready to get your engine running like it just came out of the showroom? Explore vif’s premium marine maintenance collection today, or contact our technical team for expert advice tailored to your exact engine model!