
How Marine Thru-Hulls Differ from Ordinary Plumbing
Confusing household plumbing with marine hardware causes real Boat sinkings. A normal pipe valve leak gives you a minor maintenance headache. A failed marine thru-hull below the waterline gives you just minutes to act. Design, thread types, and structural support make the difference.
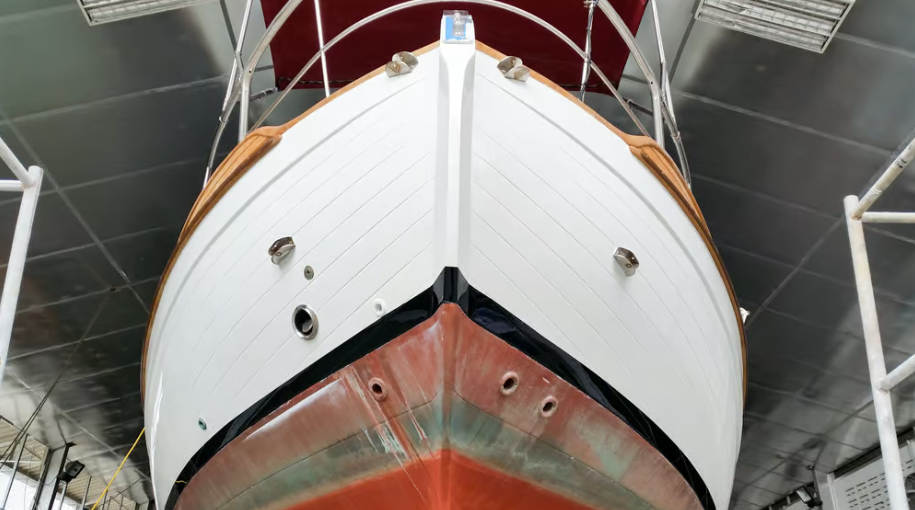
Anatomy of a Proper Thru-Hull System
We must define a complete, secure system before debating saltwater materials. A thru-hull means more than a hole holding a plug. A proper marine setup relies on four parts working together:
-
The Thru-Hull Fitting: This mushroom-headed piece goes through the hull from the outside.
-
The Backing Plate: Builders make this from G10 fiberglass, thick marine plywood, or rigid StarBoard. It supports the hull and spreads out physical stress. This lets you pull a stiff valve handle without cracking the fiberglass.
-
The Seacock: This purpose-built, flanged marine valve bolts right to the backing plate. You should never screw a basic valve onto the thru-hull threads.
-
The Hose Barb: Your interior plumbing attaches to this final tailpipe connection.
Skip any of these components or mismatch their thread types. Your Boat becomes a major sinking risk.
|
Feature |
Marine Thru-Hull & Proper Seacock |
Standard Plumbing Store Valve |
|---|---|---|
|
Failure Point |
Breaks through the hull (immediate flooding risk) |
Fails inside a closed system |
|
Thread Standard |
NPS (Straight) – allows full depth engagement |
NPT (Tapered) – engages 3-4 threads total |
|
Mounting & Support |
Flange bolts tight to the hull backing plate |
Thread engagement alone holds the load |
|
Load Resistance |
Absorbs sideways loads, vibrations, and hose weight |
Snaps under side pressure or corrosion stress |
Note: Forcing a tapered NPT valve onto a straight NPS thru-hull causes fatal installation errors. It might look like a proper seacock. It fails under pressure.
Expert Opinion:
“In my years working with below-waterline hardware, the single most repeated mistake I see is owners treating a thru-hull fitting as an isolated component rather than a system. The backing plate, seacock flange, and bonding wire are not optional upgrades — they are the load path. When a skipper grabs a valve handle in an emergency, that force has to travel somewhere. Without a properly bedded backing plate distributing stress across the hull skin, you are one hard yank away from turning a manageable leak into a catastrophic breach. I always tell owners: if you cannot identify every below-waterline penetration on your boat from memory, in the dark, you are not ready to go offshore.“
————VIF Marine Engineering Team, Marine Hardware & Propulsion Specialists with decades of hands-on experience in below-waterline system design, corrosion resistance testing, and offshore performance engineering
Where Thru-Hulls Live on Your Boat
Position relative to the waterline categorizes these fittings. Pay special attention to these connection zones:
-
Below Waterline (High Risk): Engine raw water intakes run constantly. Marine head plumbing faces salt buildup and backflow. Bilge pump discharges and livewell lines sit here too.
-
Above Waterline (Lower Risk): Cockpit drains, A/C discharges, and generator cooling lines sit above water. Heavy weather pushes water into these ports.
The Numbers Behind the Risk
Consider the physics behind this critical safety component. Seawater exerts 5 kPa of static pressure at just 0.5 meters of depth. A broken 1-inch fitting blasts hundreds of liters of water into your boat every minute. A small cabin floods fast. A panicked owner cannot close a stuck valve in time.
BoatUS and USCG incident data highlight thru-hulls as a top cause of non-collision sinkings. These failures are predictable. Cheap brass dezincification turns the metal pink and ruins the strength. Mismatched threads and neglected hose clamps cause the rest of these issues.
The Golden Rule Most Owners Learn Too Late
Do yourself a favor and get intimately familiar with your bilge. You need to know exactly where every below-waterline hull penetration is located and what system it serves. Verify that every seacock cycles smoothly by hand.
Most importantly: keep an appropriately sized, tapered wooden plug tied directly to each fitting. It’s the exact same logic as keeping a fire extinguisher in the galley. You hope to God you never have to use it, but you make absolutely sure it’s within arm’s reach.
With years of deep expertise manufacturing marine propellers, VIF understands exactly how hardware survives below the waterline. From propulsion to critical plumbing, you can completely trust our team for any marine issue.
Quick-Reference Comparison: Thru-Hull Fitting Materials
Material choices cause most thru-hull mistakes. Poor decisions happen at the marine store counter. A buyer grabs the cheaper fitting to save some money. This choice creates massive repair bills later.
|
Material |
Corrosion Resistance |
Waterline Below |
Best Hull Types |
|---|---|---|---|
|
Marine Bronze (Gunmetal) |
Very high — watch for pink dezincification |
✅ First choice |
FRP, wood, steel |
|
DZR Brass (CW602N) |
Medium–high |
⚠️ Non-critical only |
FRP, wood |
|
Standard Brass |
Low — breaks down fast in saltwater |
❌ Prohibited |
— |
|
316 Stainless Steel |
Good above water — crevice corrosion risk below |
⚠️ Avoid long immersion |
FRP, wood, steel |
|
Duplex SS (2205) |
Excellent pitting resistance |
✅ Suitable |
FRP, steel, aluminum |
|
Composite (Marelon) |
Full immunity to galvanic corrosion |
✅ Certified for below |
Aluminum / steel |
The Below-Waterline Short List & Common Wrong Combinations
Your below-waterline material options remain limited. Marine bronze serves as the industry standard. It meets ABYC rules. Certified composites work best for aluminum hulls. Bronze ruins aluminum hulls through galvanic corrosion. Keep all other materials above the waterline.
We see several common material failures. Standard brass below the waterline develops “Pink Death” in a few years. The fitting looks fine outside. Inside, a brittle copper lattice crumbles under pressure. Bronze fittings on an aluminum hull turn the hull into a sacrificial anode. The reaction eats straight through the metal shell. Buy the right material once. Do not cut your budget on hull fittings.
Quick Reference: Thru-Hull Installation Summary
Working in a cramped bilge takes focus. You will not want to read a manual in that dark space. Rushed jobs look messy and risk the boat. Run through these checkpoints before opening any sealant.
|
Installation Phase |
Core Actions & Measurements |
Crucial “Don’t Skip” Details |
|---|---|---|
|
1. Planning & Dry-Fit |
|
Verify the valve handle swings fully open and closed. Check the flange for zero gaps. |
|
2. Drilling & Prep |
|
Cored hulls: Remove the interior core. Pack the void with thickened epoxy before final drilling. |
|
3. Sealing & Assembly |
|
Never use rigid epoxy for bedding material. A continuous squeeze-out ring confirms a tight seal. |
|
4. Final Verification |
|
A damp fitting means a failed seal. A weeping seal requires full removal and re-bedding. |
Leak Prevention Non-Negotiables: Clamps and Grounding
Expensive bronze fittings alone will not save you. Ignored bilge details cause boats to take on water anyway. We must cover the basic leak-prevention rules that many boat owners miss.
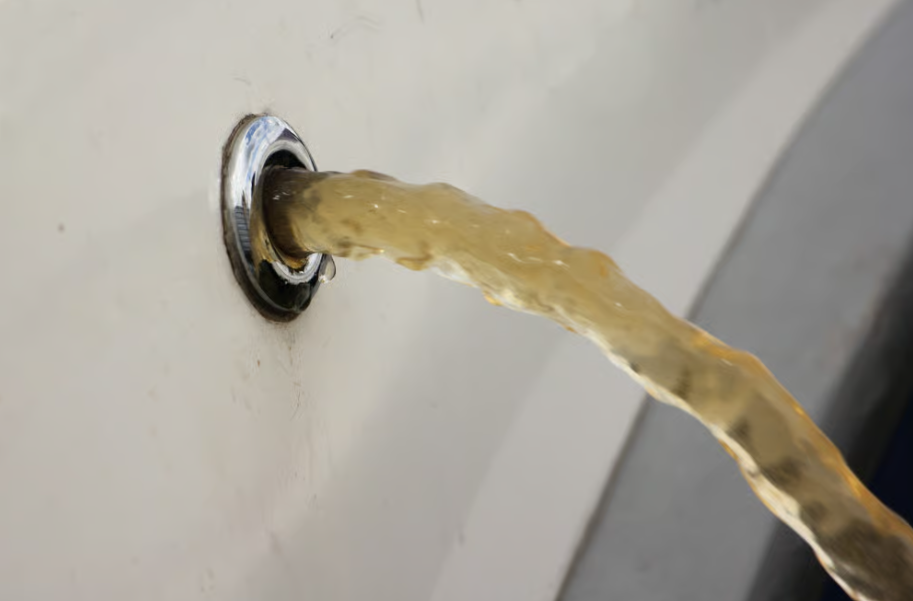
Add double hose clamps to all hoses below the waterline. This strict rule demands 316-grade stainless steel hardware. Check the tightening screws for the same stainless rating. Cheap screws rust fast. Position the tightening screws 180 degrees apart. One clamp breaks from vibration or rust. The second clamp keeps the boat afloat. Industry standards require dual clamps to save lives.
Metal fittings require bonding against stray electrical current. Connect every bronze thru-hull to the boat’s bonding system. Run a green grounding wire from the fitting to the boat sacrificial zinc anodes. Miss this step. Galvanic corrosion ruins your bronze fittings. The metal turns into a brittle, porous shell. A simple bump with a wrench snaps the fitting off.
Trust the Deep-Water Experts
Balancing technical details stresses many boat owners. Galvanic corrosion, thread matching, and load stress create confusion. You do not have to learn through trial and error.
We live this work every day at VIF. We bring decades of expertise in making high-performance marine propellers. Our engineering team knows underwater metal survival. We test against high pressures, constant vibration, and saltwater corrosion. This mechanical background guarantees solid results. Deal with complex propulsion issues, search for a pitched propeller, or fix boat plumbing. You can trust our team for battle-tested solutions.
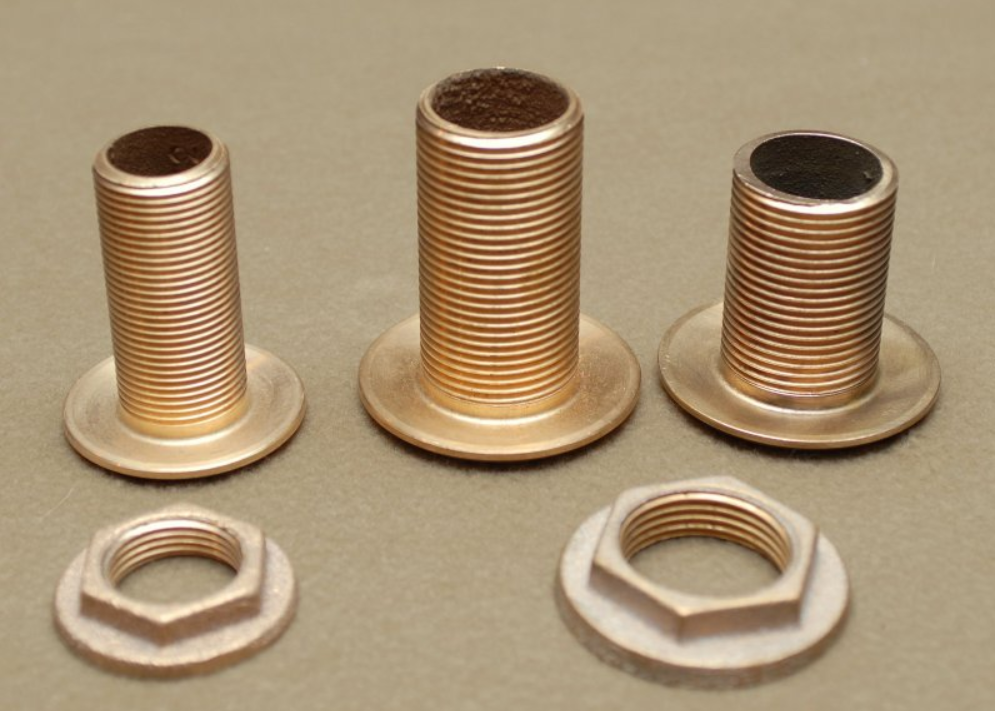
Ready to Secure Your Boat?
A soggy bilge signals a failed seacock too late. Do a walk-around inspection this weekend. Look for pink pitting on brass valves. Check for stiff handles and rusted hose clamps. Replace any worn parts right away.
Browse our line of premium marine hardware and precision propellers. Need help choosing parts for your hull type? Reach out to our technical support team. We love sharing our expertise to keep you floating and secure.