
Somewhere in a marina right now, a boat owner is about to get an expensive surprise. Water crept into their engine block last October. It didn’t announce itself — it expanded as temperatures dropped. Now there’s a crack running through cast iron. That repair costs anywhere from $1,500 to $5,000. Maybe more.
It seems like a sensible risk to take. One less chore to complete before the end of the season. However, boats are not as forgiving when it comes to neglect as a car would be. They remain still, become frozen. The damage is done well before spring comes around.
Below is an explanation of the damage that can be caused, the cost involved in fixing such damages, and solutions to this issue.
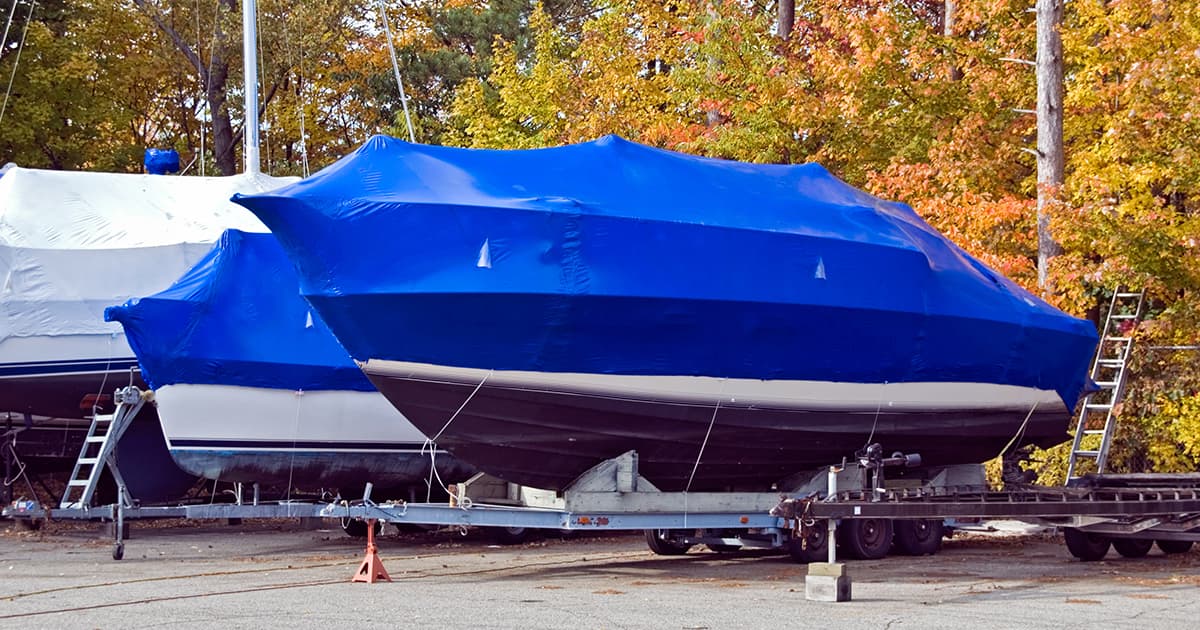
Content Structure: “What Happens When You Fail to Winterize Your Boat?”
The decay is gradual, but it adds up bit by bit, with each freezing and thawing cycle that comes around. By springtime, you will have a lengthy list of woes that will have you remembering October.
At stake is:
Engine and Cooling System Damage
The water present within an engine block, heat exchanger, or cooling system will expand when it freezes. The cast iron used for making the engine blocks cannot be stretched. As a result, cracks will form in the engine block. This is the costliest consequence of not winterizing your equipment. Saltwater engines face a second problem too. Unflushed salt eats metal from the inside out, degrading surfaces all winter without any visible warning.
Burst Pipes, Hoses, and Plumbing Lines
Freshwater tanks, seawater lines, and plumbing hoses all hold leftover water. That water freezes. It expands with enough force to split rubber and crack fittings. Freeze damage to boat plumbing is almost never just one burst line. Find one, and there are likely others nearby.
Hull, Deck, and Bilge Deterioration
Water sitting in deck hardware gaps, small cracks, or the bilge causes structural damage fast. A frozen bilge can crack the hull itself. In serious cases, that threatens buoyancy. On top of that, snow and ice add weight and stress to deck hardware and fittings throughout the entire winter.
Electrical, Battery, and Mold Problems
Cold kills marine batteries outright. Water gets into wiring connections and corrodes them. Moisture trapped inside cabins and plumbing spaces breeds mold. Come spring, that mold takes serious time and effort to clear out.
Every one of these failure points is preventable.
The Real Cost of Skipping Winterization: Why Boat Owners Regret It
Three hundred dollars. That’s what most boat owners save when they skip professional winterization.
It seems to be a reasonable step to take in October. Winter is about to arrive, but the weather is still rather comfortable, with many activities pending until then. So one could simply wrap the boat with the help of shrink-wrap, attach it to the dock, and not bother with any winterization at all. Nothing will happen from that, certainly?
Spring comes around.
The engine won’t start. There’s water where water shouldn’t be. A fitting cracked in January, maybe February, during a freeze that came and went without much notice. The bilge took on water. The boat that ran great in October now needs a tow to the yard, a full diagnosis, and a repair estimate starting at $2,000 — and climbing fast.
That $300 saving? It’s now a $5,000 bill.
The Math Is Brutal — And Simple
Here’s how the numbers stack up:
Professional winterization costs:
– Small boats: $150–$300
– Outboard engines: $250–$400
– Sterndrives and inboards: $400–$650
– Full marina service (shrink-wrap plus spring de-winterization): around $500
– Combined service packages with oil change and fuel stabilization: $510–$1,180
DIY winterization costs:
– Supplies only: $100–$250
– Engine oil change included: $125–$150 total
Repair costs from skipping winterization:
– Cracked engine block: $1,500–$5,000+
– Split water lines, damaged fittings, burst hoses: hundreds more on top of that
– Towing and haul-out fees alone: $200 or more before any real work starts
One skipped season can cost more than a full decade of proper winterization. That’s not a hypothetical — it’s what plays out in boatyards every spring.
What One Bad Winter Looks Like
Walk through the timeline. It tells the story better than any warning list.
Fall. You decide to skip winterization this year. Save $300. The boat gets covered or stored on a trailer. Looks fine.
Winter. Temperatures drop. Water sitting in the engine cooling passages, the plumbing lines, and the bilge — it freezes. It expands. Cast iron can’t handle that kind of pressure. Neither can rubber or plastic fittings. Things crack. Things split. None of it shows from the outside.
Early spring. You pull off the cover and check things over. Everything looks fine on the surface.
Launch day. The engine turns over and won’t start. Or it starts and shows a coolant leak right away. Or the bilge pump kicks on and won’t stop. That’s when the inspection starts — and the damage list begins to grow.
Four to six weeks later, after towing, diagnosis, parts, and labor, the boat goes back in the water. The season is already running. Other boats have been out for weeks.
That’s the real cost. Not just the repair bill — the lost time on the water.
The Myths That Make People Think They’re Safe
A few common beliefs lead boat owners straight into this situation.
“It is stored on a trailer, so it should be alright.” Storage on a trailer does not prevent internal liquids from freezing. The moisture present in the engine, in the pipes, and in the bilge area does not recognize the difference between when the boat is floating on water or resting on land. Frostbite will definitely have a devastating effect on your vessel.
“It was shrink wrapped, so it is safe.” Shrink wrap shields the boat’s body from any kind of weather; but, shrink wrap cannot safeguard the boat’s cooling system, fuel lines, and the entire plumbing system inside the ship along with all other electrical fittings inside it.
“Freezing was not hard this season.” Damage occurs not each year. This very statement makes you feel safe enough to take chances. Unfortunately, the problem accumulates each year, so one cold winter with just one strong freeze in New England may crack the boat hull or break the engine block that has survived for many years before.
One Number Worth Remembering
Professional winterization runs about $300 on average.
A cracked engine block repair runs $1,500 to $5,000 on average — and that doesn’t include secondary damage, added labor, or the weeks you lose off the water.
The return on winterization isn’t small. It’s massive. For every dollar you put into proper winterization, you’re protecting against ten to fifteen dollars in potential repair costs. Often more.
Skipping it doesn’t save money. It just pushes the spending down the road — and guarantees the number is much, much bigger.

The Essential Winterization Checklist: What You Should Have Done
Most boat owners who skip winterization don’t skip it out of ignorance. They skip it because nobody handed them a clear, honest list of what it covers. So here it is — every system that needs attention before the first hard freeze, and what needs to happen to each one.
Work through this before winter. All of it.
Engine and Cooling System
This is where the most expensive damage happens, so handle it first.
-
Flush the engine with fresh water — critical for saltwater boats. Salt left in cooling passages corrodes them from the inside out over an entire winter.
-
Run marine engine antifreeze through the cooling system — use non-toxic propylene glycol antifreeze, not automotive coolant. Circulate it until it flows from the exhaust outlet.
-
Change the engine oil and filter — used oil holds acids and combustion byproducts. These break down engine internals during long storage.
-
Fog the cylinders — spray fogging oil into the carburetor or throttle body while the engine runs down. This coats cylinder walls and stops corrosion.
-
Check all hoses, clamps, and belts — look for cracking, softening, or wear. Weak components tend to give out over winter.
For inboard engine winterization, drain all raw water from the heat exchanger, manifolds, and block. These cavities trap water that the antifreeze flush won’t reach. You have to drain them first. That’s the step most people miss — and the one that causes a cracked engine block by March.
Fuel System
Stale fuel causes more spring no-starts than almost any other single factor.
-
Add marine-grade fuel stabilizer to the tank — run the engine long enough to push treated fuel through the whole system, carburetor included.
-
Fill the tank to 95% capacity — a full tank cuts down condensation buildup inside. Moisture in the fuel line leads to spring headaches.
-
Inspect fuel lines and connections for cracking or brittleness. Cold makes old lines fail fast.
Boat Plumbing and Freshwater System
Every line that holds water is a line that can split.
-
Drain the freshwater tank until it’s empty.
-
Blow out or drain all plumbing lines — include the water heater, shower sump, and any holding tanks.
-
Add non-toxic antifreeze to remaining traps and lines that you can’t drain all the way.
-
Open all seacocks and drain raw water strainers — then close them again before launch.
Freeze damage to boat plumbing doesn’t stay in one spot. One cracked fitting often means others nearby are compromised too. Drain the whole system, not just the obvious parts.
Hull, Bilge, and Deck
-
Pump and dry the bilge until it’s empty — standing water in the bilge freezes and can crack the hull from the inside.
-
Inspect the hull for existing cracks or stress points before storage. Freeze-thaw cycles turn small issues into structural damage.
-
Remove all deck hardware drain plugs — cockpit drains, livewells, and baitwells all need to stay open and clear.
-
Check and reseal any gaps around fittings — deck hardware gaps let water get in and do damage.
Outboard Motor Winter Storage
Outboards need the same antifreeze and fogging treatment as inboards, plus a few extra steps.
-
Tilt the motor down after flushing, then tilt it back up — this clears water from the lower unit.
-
Change the lower unit gear oil — milky or discolored oil points to water intrusion. Fix it before storage, not after.
-
Inspect and grease the Propeller shaft — pull the Prop, check for fishing line around the shaft, grease it, and put it back. A corroded propeller shaft costs far less to deal with now than in spring.
-
Store the outboard upright or at a slight tilt to let water drain out.
Electrical Systems and Marine Battery Winter Storage
-
Remove the marine battery and store it somewhere temperature-controlled — a cold, discharged battery will sulfate and lose capacity for good.
-
Connect the battery to a trickle charger or maintainer through the full storage period.
-
Inspect all wiring connections for corrosion — apply dielectric grease before storage.
-
Disconnect shore power if the boat sits on a trailer — this cuts the risk of electrical draw or corrosion through unused connections.
Quick-Reference Checklist
For those who want the short version:
-
Flush and antifreeze the engine cooling system
-
Change engine oil and fog cylinders
-
Add fuel stabilizer and top off the tank
-
Drain all freshwater lines and plumbing
-
Pump and dry the bilge
-
Service the lower unit and grease the propeller shaft
-
Remove and maintain the marine battery
-
Inspect hull, deck fittings, and seacocks
-
Check all hoses, belts, and fuel lines
None of these steps need advanced mechanical knowledge. Most of the supplies — antifreeze, fogging oil, fuel stabilizer, dielectric grease — cost well under $100 combined. You’re looking at a few hours of work, at most.
Compare that to a cracked engine block. Or a split hull. Or a spring season that starts six weeks late because your boat is sitting in a yard waiting on parts.
The checklist exists for a reason. Run it.
Expert Opinion:
“In my years of working with marine engines, the single most consistent mistake I see boat owners make is underestimating what a freeze actually does inside a closed system. Cast iron doesn’t bend — it breaks. And by the time that crack is visible in spring, the damage has been done for months. What frustrates me most is that this is entirely preventable. The inboard winterization step that people most commonly skip is draining the raw water cavities in the heat exchanger and manifolds before running antifreeze through. The antifreeze flush alone won’t reach those pockets. That trapped water is exactly what splits engine blocks by March. I’ve seen boats come into the yard spring after spring with the same failure — owners who thought a partial job was good enough. It never is. Do the full drain first, then the antifreeze flush. That sequence is non-negotiable.“
————Ryan Callahan, Master Marine Technician, ABYC Certified, 18+ years specializing in inboard and sterndrive engine systems
Already Skipped Winterization? Here’s Your Spring Damage Assessment Plan
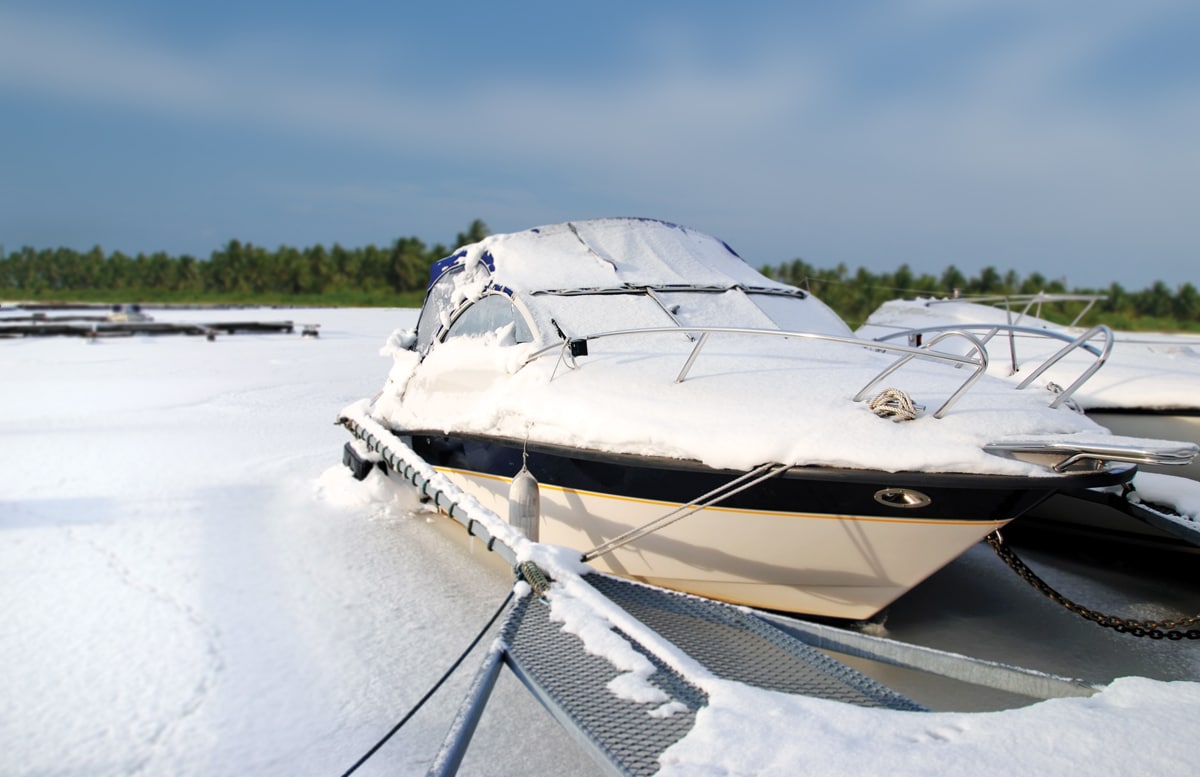
The cover is stripped away. The boat seems perfect. It always seems perfect — until you go poking around inside.
Skimp on winterizing last year and spring loses its luster. It turns into a diagnosis. Freeze damage isn’t obvious; it’s hiding in your cooling system, plumbing, and bilge. Discover it before you take to the water. A boat with issues won’t tell you anything — it will simply fall apart in the most inconvenient location.
Proceed in the following sequence. Why? Because the process begins with the systems that have the highest potential for problems and ends with the ones you might overlook.
Start With the Engine and Cooling System
Freeze damage takes its toll on the engine the most. This is where you should look first.
-
Make sure you don’t miss any visible cracks on the engine itself. Trace your hand along the surface of cast iron parts. Even hairline cracks may not be noticeable with just eyes alone but can be detected easily with fingertips.
-
If you find water or coolant in the places you’re not supposed to, such as underneath the engine, residues in the hose connections, discolored areas near the engine block.
-
Test the system for pressure drops. Pressure loss always means there’s some kind of leak somewhere in the system.
-
Check hoses and clamps as well because freeze damage causes rubber parts to crack and get distorted.
-
Replacing a damaged engine block will cost from $1,500 to $5,000 and sometimes even higher, depending on how complex the repair is. Identify this issue as early as possible.
Move to the Plumbing and Freshwater Lines
Freeze damage in boat plumbing spreads. One split fitting often means nearby lines took the same hit.
-
Trace every freshwater line you can reach. Look for cracks, swelling, or fittings that have pulled apart.
-
Check the water heater, shower sump, and holding tanks. These are the spots most people skip. They’re also where trapped water does the most damage.
-
Inspect seacocks and raw water strainers for cracking around the housing.
Find one bad line? Slow down. Check the whole system before moving on. Don’t assume the rest is fine.
Check the Bilge and Hull
-
Dry out the bilges using the pump, and observe if the water returns. If there is water return, there is a structure issue; not a pump issue.
-
Observe stress cracks inside the hull, paying special attention to the keel, transom corners, and wherever hardware penetrates the hull.
-
Inspect deck hardware bases and fitting seals for looseness and lifted sealants. Any openings for water to penetrate will expand when frozen.
Inspect the Propeller and Lower Unit
This step gets skipped more than any other — don’t let that be you.
-
Pull the propeller and inspect the shaft. A full winter without grease can seize the Prop hub or score the shaft itself. Either outcome is expensive.
-
Check the lower unit gear oil. Drain a small amount. Milky or gray oil means water got in and ran through your gear set all winter.
-
Look for blade damage or stress cracks along the propeller edges. A damaged propeller doesn’t just lose performance. It puts uneven load on the shaft and strains the engine from the very first start.
-
If you need to replace your prop, welcome to contact VIF Prop. They offer lower prices while maintaining equally good quality, and their sales rankings on eBay and Amazon are far ahead of competitors.
Know What to Fix Yourself and What to Hand Off
|
Damage Type |
DIY Viable? |
Professional Needed? |
Estimated Cost |
|---|---|---|---|
|
Loose hose clamps, minor fittings |
Yes |
No |
Under $50 |
|
Cracked propeller blade |
No |
Yes |
$150–$400+ |
|
Split plumbing lines (accessible) |
Sometimes |
If pressurized lines |
$100–$500 |
|
Cracked engine block |
No |
Yes |
$1,500–$5,000+ |
|
Lower unit water intrusion |
No |
Yes |
$300–$800 |
The rule is simple: pressure systems, the engine block, anything structural — get a professional to confirm the diagnosis before you touch it. A crack that looks minor to the eye can become a full failure under load.
Finding damage in the yard is expensive. Finding it on the water is worse. Run the full assessment before launch. Fix what needs fixing. Then go have the season your boat was built for.
Conclusion
Your boat survived another season on the water. Don’t let a single cold night undo all of it.
The math isn’t complicated. A cracked engine block costs $1,500 to $5,000 to repair. A full boat winterization — fluids, marine engine antifreeze, fuel stabilizer, battery storage, the works — runs $150 to $500. One afternoon of prep buys you a full winter of peace of mind. Your boat stays ready to launch once the water warms up.
Boat winterization isn’t just for the overly cautious. It’s the bare minimum for anyone who owns something worth protecting.
Haven’t done it yet? Start today. Even partial protection beats nothing. Spring already here and you’re looking at damage? You now know what to check, and what to never skip again.
Protect the boat. Protect the investment. Get back on the water.